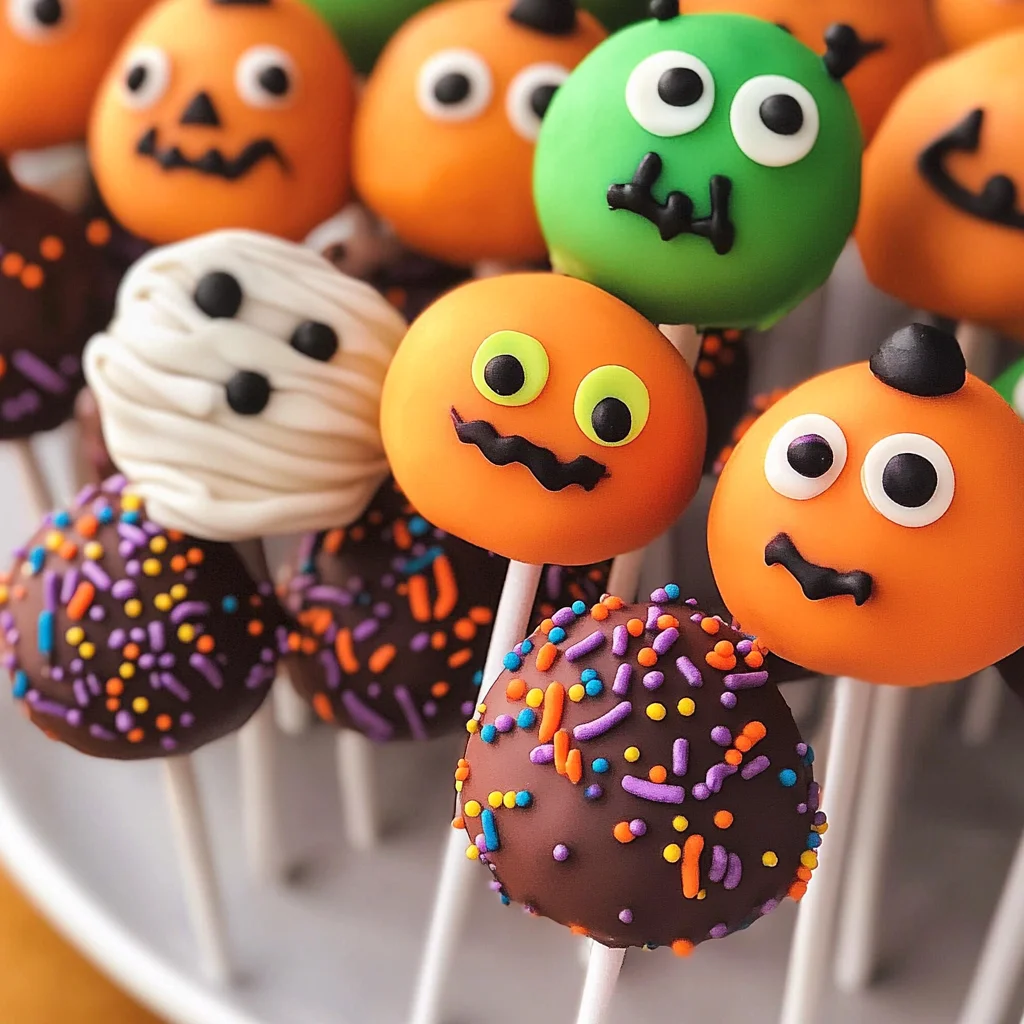
Halloween Cake Pops
If you’re looking for a fun and festive treat to wow your friends at your next Halloween gathering, these Halloween Cake Pops are just the ticket! They’re not only adorable but also incredibly delicious. Kids and adults alike will love these spooky bites that can easily be decorated to fit any Halloween theme you desire. Plus, they’re perfect for busy weeknights or family gatherings—everyone can get involved in the decorating fun!
Making cake pops is a delightful way to turn any leftover cake into something magical. These treats are versatile and can be customized with various decorations like sprinkles, candy eyes, or themed toppings. Trust me; once you try making these Halloween Cake Pops, they’ll become a cherished tradition!
Why You’ll Love This Recipe
- Easy to make: With just a few simple steps, you’ll have delicious cake pops ready in no time.
- Fun for everyone: Kids love getting involved in the decorating process, making it a great family activity.
- Perfect for parties: These festive treats are sure to be a hit at your Halloween party!
- Versatile flavors: You can use either vanilla or chocolate cake mix, depending on your preference.
- Make ahead: Prepare them in advance and chill them until it’s time to serve.
Ingredients You’ll Need
You’ll find that this recipe calls for simple and wholesome ingredients that you likely already have on hand. Let’s take a look at what you need to create these spooktacular Halloween Cake Pops!
For the Cake
- 1 box Favorite cake mix
- 1 3.4 oz box instant pudding mix
- 4 eggs
- 1 cup water
- 1/3 cup vegetable oil
For the Frosting and Coating
- 1 cup Frosting
- Candy Melts
For Decorations
- Toppings – sprinkles, candy eyes
Variations
This recipe is wonderfully flexible! Feel free to get creative with your cake pops. Here are some fun variations you might enjoy:
- Experiment with flavors: Try using lemon or red velvet cake mix for different tastes.
- Change up the frosting: Use cream cheese frosting or chocolate frosting for added flavor.
- Go wild with toppings: Swap out sprinkles for crushed cookies or nuts to add crunch.
- Make them spooky: Decorate with colored Candy Melts to create unique designs.
How to Make Halloween Cake Pops
Step 1: Bake the Cake
Preheat your oven to 350°F. Spray your 13 x 9 pan with vegetable pan spray. In a large bowl, combine the cake mix, pudding mix, eggs, water, and oil. Beat at medium speed for about 2 minutes until everything is well mixed. Pour this mixture into your prepared cake pan and bake for 30-40 minutes. A toothpick inserted in the center should come out clean when done. Allow it to cool in the pan for about 10 minutes before transferring it to a wire rack.
Step 2: Crumble the Cake
Once your cake is cool, it’s time for some hands-on fun! In a large bowl, crumble the cooled cake until no large chunks remain—this is easy with two forks or simply using your hands! The crumbling helps create that perfect texture needed for rolling into balls later.
Step 3: Mix with Frosting
Add in the frosting and mix it with your fingers until everything is well combined. This step is crucial as it binds everything together so you can easily form lovely little cake balls.
Step 4: Form Cake Balls
Now comes the best part—roll the mixture into bite-sized balls! Aim for uniform shapes so they look great when decorated later on. Once shaped, place them on a baking sheet lined with parchment paper.
Step 5: Chill Out!
Chill those cute cake balls in the refrigerator for at least two hours so they harden up nicely. This helps them keep their shape when you dip them later!
Step 6: Melt Candy Melts
When you’re ready to decorate, melt your Candy Melts in 30-second intervals in the microwave on low power or over a stovetop. Stir until smooth; this will be your coating.
Step 7: Insert Sticks
Dip each stick into the melted Candy Melts before inserting it into each chilled cake ball. This helps secure them better. Allow them to set; if you’re in a hurry, pop them in the freezer for about 20 minutes.
Step 8: Coat Your Pops
Once firm, dip each pop completely into melted Candy Melts until fully coated. Let any excess drip off before proceeding.
Step 9: Add Decorations
Finally, sprinkle on all those fun toppings while the coating is still wet! Get creative—this is where you can really let your imagination run wild!
With these steps complete, you’ll have delightful Halloween Cake Pops ready to impress at any festivity! Enjoy every bite of these cute treats!
Pro Tips for Making Halloween Cake Pops
Creating the perfect Halloween cake pops can be a fun and rewarding experience, and with these tips, you’ll be a pro in no time!
- Use room temperature ingredients: This helps the batter mix evenly and leads to a smoother cake. Room temperature eggs and water will create a fluffier texture in your cake pops.
- Don’t overmix the cake batter: Overmixing can lead to dense cake pops. Mix until just combined to keep them light and airy.
- Chill before dipping: Allowing your formed cake balls to chill thoroughly makes them easier to dip in melted Candy Melts without falling apart. This step ensures they hold their shape beautifully.
- Experiment with colors: Use different colored Candy Melts to make your Halloween cake pops even more festive. Layering colors or using contrasting shades adds visual appeal that captures the Halloween spirit.
- Get creative with decorations: Let your imagination run wild! From spooky sprinkles to edible glitter, unique toppings not only make your cake pops look great but also allow for personalization that guests will love.
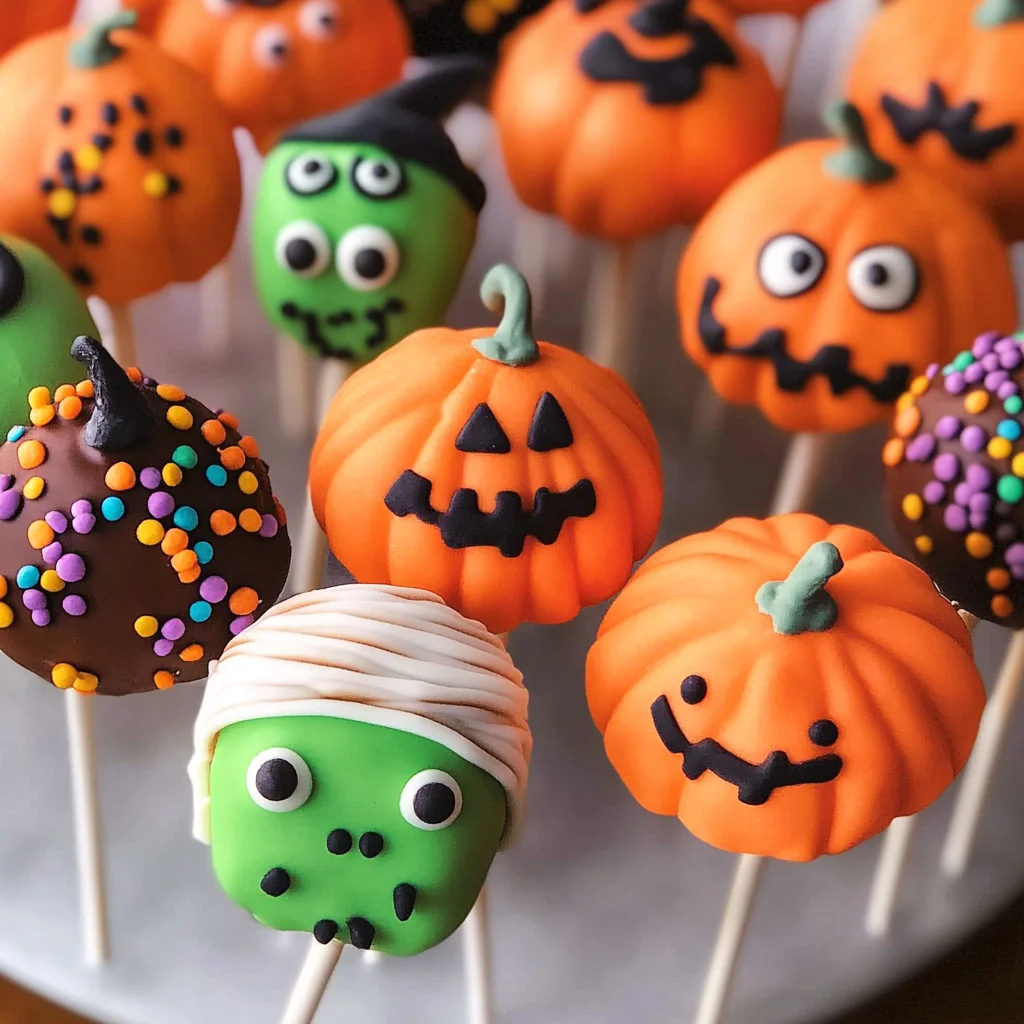
How to Serve Halloween Cake Pops
Serving Halloween cake pops can be as fun as making them! With their vibrant colors and playful designs, they’re sure to be a hit at any gathering. Here are some ideas on how to present these spooky treats.
Garnishes
- Chocolate drizzle: A simple drizzle of melted dark or white chocolate adds elegance and an extra layer of sweetness.
- Edible glitter: Sprinkle some edible glitter on top of the melted Candy Melts for a magical touch that catches the eye.
- Coconut flakes: For a ghostly appearance, use unsweetened coconut flakes as a topping for a fun texture and flavor contrast.
Side Dishes
- Halloween-themed fruit platter: Create a colorful display of fruits cut into fun shapes like bats or pumpkins. It’s a refreshing contrast to the sweetness of the cake pops.
- Spooky veggie tray: Arrange vegetables into creepy critters or spooky faces. Pair with a delicious hummus dip for an appealing crunch.
- Themed cupcakes: Bake cupcakes decorated with Halloween-themed frosting. They complement the cake pops perfectly while maintaining the festive spirit.
- Hot chocolate bar: Set up a station with different toppings like marshmallows, whipped cream, and flavored syrups for guests to customize their drinks alongside your sweet treats.
These serving suggestions will enhance the festive atmosphere of your Halloween party, making it both delightful and memorable! Enjoy creating these spooky delights!
Make Ahead and Storage
These Halloween Cake Pops are perfect for meal prep, making them an excellent treat to have on hand for parties or gatherings. With a little planning, you can whip these up in advance and store them for later enjoyment!
Storing Leftovers
- Store leftover cake pops in an airtight container at room temperature for up to 3 days.
- If you’re in a humid environment, it’s best to refrigerate them to maintain their texture.
Freezing
- To freeze cake pops, place them on a baking sheet lined with parchment paper and freeze until solid.
- Once frozen, transfer the cake pops to a freezer-safe bag or container for up to 1 month.
Reheating
- There’s no need to reheat cake pops; simply enjoy them chilled or at room temperature straight from storage.
- If desired, you can allow frozen pops to thaw in the refrigerator before serving.
FAQs
Got questions about these spooky treats? Here are some common queries:
Can I use any flavor for Halloween Cake Pops?
Absolutely! You can customize your Halloween Cake Pops with any cake mix flavor you love—vanilla, chocolate, or even red velvet for a fun twist!
How do I decorate my Halloween Cake Pops?
Get creative with your decorations! Use melted Candy Melts for coating, then add sprinkles, candy eyes, or chocolate drizzle to make your Halloween Cake Pops extra festive.
Can I prepare Halloween Cake Pops ahead of time?
Yes! These cake pops can be made ahead of time and stored in the fridge or freezer until you’re ready to serve.
What types of toppings work well on Halloween Cake Pops?
You can use a variety of toppings like chopped candies, colored sprinkles, and edible glitter. The more colorful and spooky, the better!
Final Thoughts
I hope you find joy in making these delightful Halloween Cake Pops! They not only add a festive flair to your celebrations but also bring smiles with every bite. Enjoy creating these sweet treats and don’t hesitate to share your spooky designs with friends and family. Happy baking!
Halloween Cake Pops
Get ready to impress your friends and family with these delightful Halloween Cake Pops! Perfect for any spooky gathering, these adorable treats are not only fun to make but also deliciously satisfying. With a simple cake mix base, a creamy frosting center, and a colorful candy coating, these cake pops can be customized for any Halloween theme you desire. Whether you’re hosting a party or looking for a fun activity with the kids, decorating these cake pops is sure to create lasting memories. Plus, they’re easy to prepare ahead of time, making them ideal for busy schedules. Dive into the world of creativity and flavor with these festive sweet bites!
- Prep Time: 20 minutes
- Cook Time: 40 minutes
- Total Time: 1 hour
- Yield: Approximately 20 servings 1x
- Category: Dessert
- Method: Baking
- Cuisine: American
Ingredients
- 1 box favorite cake mix
- 1 3.4 oz box instant pudding mix
- 4 eggs
- 1 cup water
- 1/3 cup vegetable oil
- 1 cup frosting
- Candy melts for coating
- Toppings like sprinkles and candy eyes
Instructions
- Preheat oven to 350°F. Prepare a 13 x 9 pan with vegetable spray.
- In a large bowl, combine cake mix, pudding mix, eggs, water, and oil; beat until smooth (about 2 minutes).
- Pour batter into the prepared pan and bake for 30-40 minutes or until a toothpick comes out clean. Cool in the pan for 10 minutes before transferring to a wire rack.
- Once cooled, crumble the cake into a large bowl and mix in frosting until well combined.
- Roll mixture into uniform balls and place on parchment-lined baking sheet; chill in the refrigerator for at least 2 hours.
- Melt candy melts in intervals until smooth; dip sticks into melted candy before inserting into chilled cake balls.
- Coat each pop completely with melted candy and decorate before the coating sets.
Nutrition
- Serving Size: 1 serving
- Calories: 160
- Sugar: 12g
- Sodium: 105mg
- Fat: 6g
- Saturated Fat: 2g
- Unsaturated Fat: 4g
- Trans Fat: 0g
- Carbohydrates: 24g
- Fiber: <1g
- Protein: 2g
- Cholesterol: <20mg