Roasted Garlic Goat Cheese Dip: An Amazing Ultimate Recipe
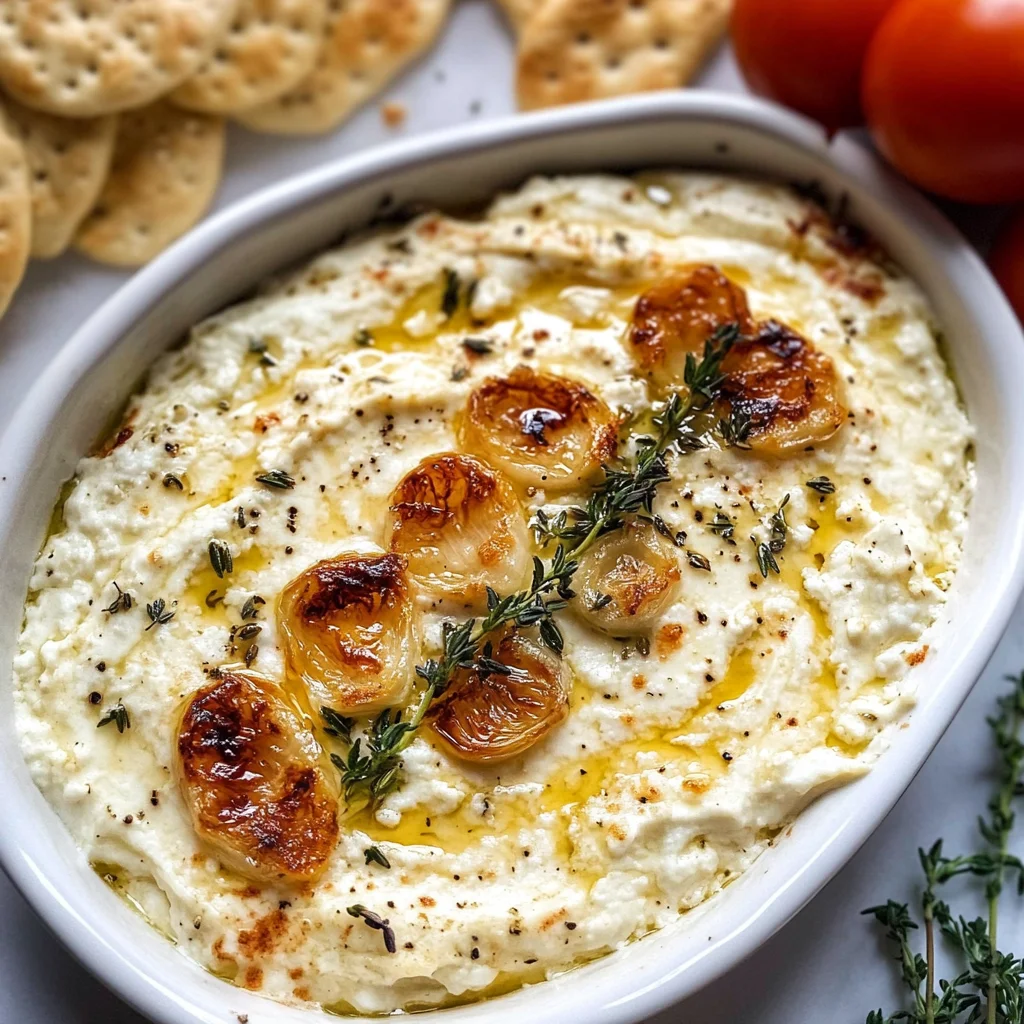
If you’re looking for a dip that’s creamy, flavorful, and downright delightful, then you’ve stumbled upon the perfect recipe! This Roasted Garlic Goat Cheese Dip: An Amazing Ultimate Recipe is one of my all-time favorites. It brings a rich, savory flavor to any gathering—be it a cozy night in or a lively family get-together. Plus, it’s incredibly easy to whip up, making it the ideal choice for busy weeknights or impromptu get-togethers with friends.
What makes this dip even more special is how the roasted garlic enhances the goat cheese’s tanginess. It creates a warm and inviting dish that everyone will love. Trust me; once you try it, you’ll want to make it again and again!
Why You’ll Love This Recipe
- Super Easy to Make: With just a few simple steps, you can have this delicious dip ready in no time.
- Family-Friendly Flavor: The creamy texture and savory taste make it a hit with both kids and adults.
- Perfect for Any Occasion: Whether it’s game night or a holiday gathering, this dip fits right in!
- Make-Ahead Convenience: You can prepare it in advance and serve it warm or at room temperature.
- Customizable: Feel free to adjust ingredients based on your preferences or what you have on hand.
Ingredients You’ll Need
Gathering these simple, wholesome ingredients is half the fun! Each one contributes to the rich flavor of this dip. So let’s dive into what you need:
For the Dip
- 1 head of garlic
- 8 ounces goat cheese, softened
- 1 cup cream cheese, softened
- 1/4 cup sour cream
- 2 tablespoons olive oil
- 1 tablespoon fresh thyme leaves (or 1 teaspoon dried thyme)
- Salt and pepper, to taste
- Fresh vegetables or bread, for serving
Variations
One of the best things about this Roasted Garlic Goat Cheese Dip is its flexibility! Here are a few variations to inspire your creativity:
- Add Spicy Kick: Stir in some crushed red pepper flakes for an extra zing.
- Herb Infusion: Mix in other fresh herbs like basil or chives for a different flavor profile.
- Creamy Spinach Addition: Fold in some cooked spinach for added nutrition and texture.
- Nutty Crunch: Top with chopped nuts like walnuts or pecans for an interesting crunch.
How to Make Roasted Garlic Goat Cheese Dip: An Amazing Ultimate Recipe
Step 1: Preheat Your Oven
First things first—let’s get your oven ready! Preheat it to 400°F (200°C). This step ensures your garlic roasts perfectly and develops that sweet, caramelized flavor we all love.
Step 2: Prepare the Garlic
Slice the top off the head of garlic to expose those lovely cloves. Wrap it in aluminum foil and drizzle with 1 tablespoon of olive oil. This not only helps with roasting but also adds richness!
Step 3: Roast the Garlic
Pop the wrapped garlic into your preheated oven for about 30-35 minutes until soft and golden. This process transforms raw garlic into sweet goodness you’ll want to squeeze right out!
Step 4: Combine Ingredients
In a mixing bowl, combine the softened goat cheese, cream cheese, sour cream, and remaining olive oil. Mixing these together creates a creamy base that’s simply irresistible.
Step 5: Add Roasted Garlic
Once your garlic has cooled slightly, squeeze those roasted cloves out of their skins into your mixture. The aroma will be heavenly!
Step 6: Seasoning
Stir in fresh thyme leaves along with salt and pepper to taste. Adjust these seasonings based on your preferences—this is your dip after all!
Step 7: Blend Mixture
Using a hand mixer or food processor, blend everything until smooth and creamy. This step ensures every bite is packed with flavor.
Step 8: Transfer to a Serving Dish
Spoon your delicious dip into a serving dish and smooth out the top with a spatula. Presentation matters too!
Step 9: Garnish
If you like, sprinkle some additional thyme leaves or drizzle olive oil on top for that professional touch.
Step 10: Serve Warm or Room Temperature
Finally, decide whether you’d like to serve it warm or at room temperature—it’s scrumptious either way! Get ready for compliments from family and friends as they enjoy every bite!
With this guide in hand, you’re all set to make an unforgettable Roasted Garlic Goat Cheese Dip that’s sure to impress! Enjoy!
Pro Tips for Making Roasted Garlic Goat Cheese Dip: An Amazing Ultimate Recipe
Creating the perfect Roasted Garlic Goat Cheese Dip can be a delightful experience, and with these handy tips, you’ll impress your family and friends with minimal effort!
- Choose Fresh Ingredients: Using fresh garlic and high-quality cheeses will significantly enhance the flavor of your dip. Fresh ingredients are always more vibrant and aromatic, making your dip truly irresistible.
- Don’t Rush the Roasting: Allowing the garlic to roast until soft and golden is crucial. This step mellows out the garlic’s sharpness, resulting in a sweet and creamy base for your dip.
- Adjust Consistency: If you prefer a creamier or thicker dip, feel free to adjust the amount of sour cream or cream cheese. Play around until you find the texture that you love best!
- Batch It Up: This dip can easily be made ahead of time! Prepare it a day in advance and let the flavors meld in the fridge. Just give it a quick stir before serving for an even more delicious taste.
- Experiment with Flavors: Feel free to add other herbs or spices to customize your dip! A sprinkle of crushed red pepper flakes can add a nice kick, while fresh basil or parsley can bring additional freshness.
How to Serve Roasted Garlic Goat Cheese Dip: An Amazing Ultimate Recipe
When it comes to serving this delectable dip, presentation is key! Here are some ideas to make your Roasted Garlic Goat Cheese Dip not only tasty but also visually appealing.
Garnishes
- Chopped Fresh Herbs: Adding chopped chives or parsley on top adds a pop of color and enhances the freshness of the dish.
- Olive Oil Drizzle: A light drizzle of high-quality olive oil right before serving gives an inviting sheen and adds richness.
Side Dishes
- Fresh Vegetables: Carrot sticks, cucumber slices, bell pepper strips, or cherry tomatoes make for crunchy dippers that complement the creamy dip beautifully.
- Crusty Bread: Slices of baguette or toasted pita chips provide a satisfying crunch that pairs wonderfully with the smooth texture of the dip.
- Whole Grain Crackers: These add an earthy flavor and wholesome crunch, making them a great choice for dipping.
With these serving suggestions and pro tips, your Roasted Garlic Goat Cheese Dip will be not only delicious but also a stunning centerpiece at any gathering. Enjoy every bite!
Make Ahead and Storage
This Roasted Garlic Goat Cheese Dip is perfect for meal prep! Whether you’re planning a gathering or just want a delicious snack on hand, this dip can be made ahead of time and stored easily.
Storing Leftovers
- Allow the dip to cool completely.
- Transfer it to an airtight container.
- Store in the refrigerator for up to one week.
Freezing
- Place the cooled dip into freezer-safe containers or zip-top bags.
- Remove as much air as possible before sealing.
- Freeze for up to three months for the best flavor.
Reheating
- Thaw overnight in the refrigerator if frozen.
- Reheat in the microwave in 30-second intervals, stirring between each until warmed through.
- Alternatively, heat in an oven at 350°F (175°C) for about 10-15 minutes until hot.
FAQs
Have questions? You’re not alone! Here are some common inquiries about this fabulous recipe.
Can I make Roasted Garlic Goat Cheese Dip ahead of time?
Absolutely! This dip can be prepared a day in advance. Just store it in the refrigerator until you’re ready to serve it.
What can I serve with Roasted Garlic Goat Cheese Dip?
Great options include fresh vegetables like carrots and celery, or crusty bread and crackers. They all pair beautifully with the dip!
Can I use other herbs instead of thyme?
Yes! Feel free to experiment with herbs like rosemary or basil for a different flavor profile that suits your taste.
How long is Roasted Garlic Goat Cheese Dip safe to eat?
When stored properly in the refrigerator, your dip will be good for up to a week. Just make sure it’s kept in an airtight container!
Final Thoughts
This Roasted Garlic Goat Cheese Dip is truly special – it’s creamy, flavorful, and perfect for any occasion. I hope you enjoy making it as much as I do! Don’t hesitate to get creative with your serving options and share it with family and friends. Happy dipping!
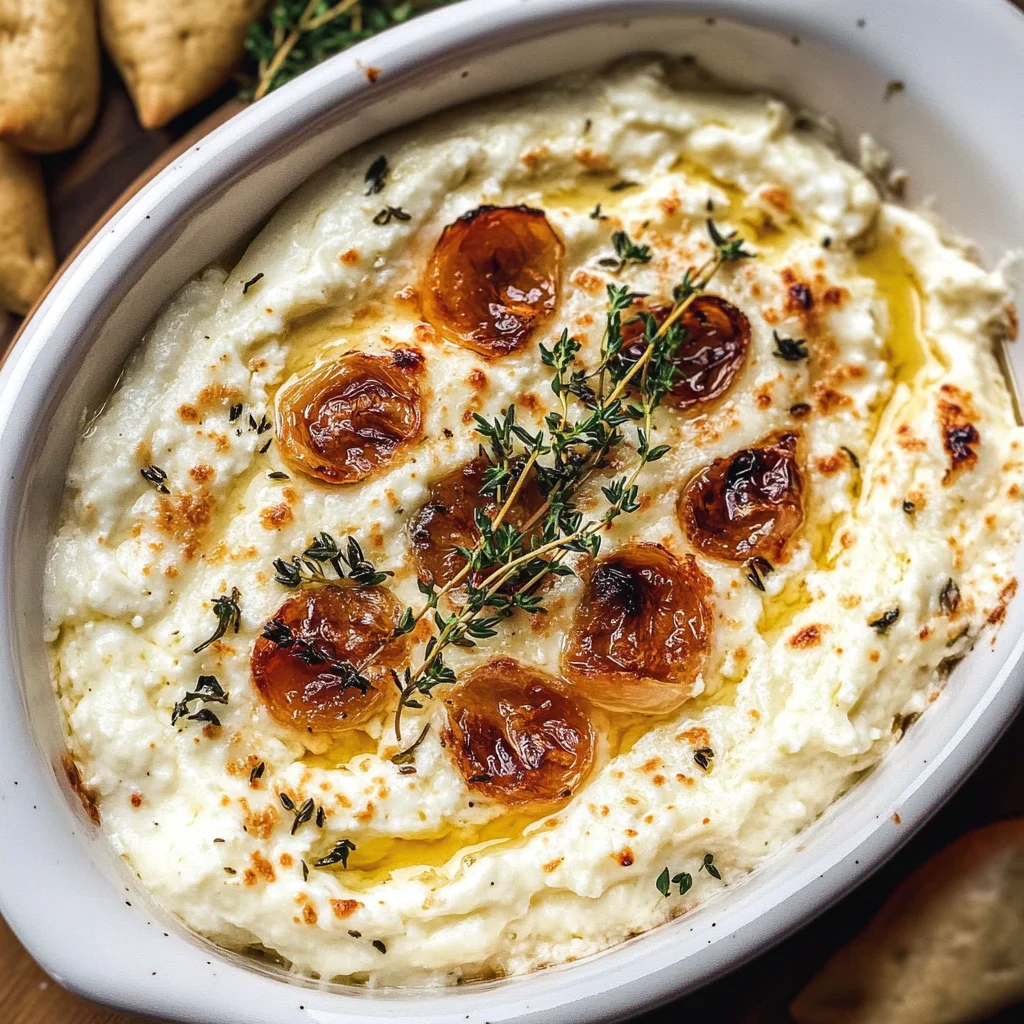
Roasted Garlic Goat Cheese Dip

Indulge in the creamy, savory delight of Roasted Garlic Goat Cheese Dip, a perfect appetizer for any gathering! This easy-to-make dip combines the tangy richness of goat cheese with the sweet, caramelized flavors of roasted garlic, creating an irresistible blend that will impress your guests. Whether you’re hosting a game night or enjoying a cozy evening at home, this dip is versatile enough to complement fresh vegetables, crusty bread, or whole-grain crackers. With just a few simple ingredients and straightforward steps, you’ll have a flavorful dip ready in no time. Everyone will be asking for the recipe!
- Prep Time: 10 minutes
- Cook Time: 35 minutes
- Total Time: 45 minutes
- Yield: Approximately 10 servings 1x
- Category: Appetizer
- Method: Baking
- Cuisine: American
Ingredients
- 1 head of garlic
- 8 ounces goat cheese, softened
- 1 cup cream cheese, softened
- 1/4 cup sour cream
- 2 tablespoons olive oil
- 1 tablespoon fresh thyme leaves (or 1 teaspoon dried thyme)
- Salt and pepper, to taste
- Fresh vegetables or bread for serving
Instructions
- Preheat your oven to 400°F (200°C).
- Slice off the top of the garlic head and wrap it in aluminum foil with 1 tablespoon of olive oil.
- Roast the garlic in the oven for about 30-35 minutes until soft and golden.
- In a mixing bowl, combine softened goat cheese, cream cheese, sour cream, and remaining olive oil. Mix until smooth.
- Squeeze roasted garlic cloves into the mixture and stir in fresh thyme leaves along with salt and pepper to taste.
- Blend until smooth using a hand mixer or food processor.
- Transfer to a serving dish and garnish with additional thyme or olive oil if desired.
- Serve warm or at room temperature with fresh vegetables or bread.
Nutrition
- Serving Size: 30g
- Calories: 90
- Sugar: 1g
- Sodium: 150mg
- Fat: 7g
- Saturated Fat: 3g
- Unsaturated Fat: 4g
- Trans Fat: 0g
- Carbohydrates: 6g
- Fiber: 0g
- Protein: 3g
- Cholesterol: 15mg