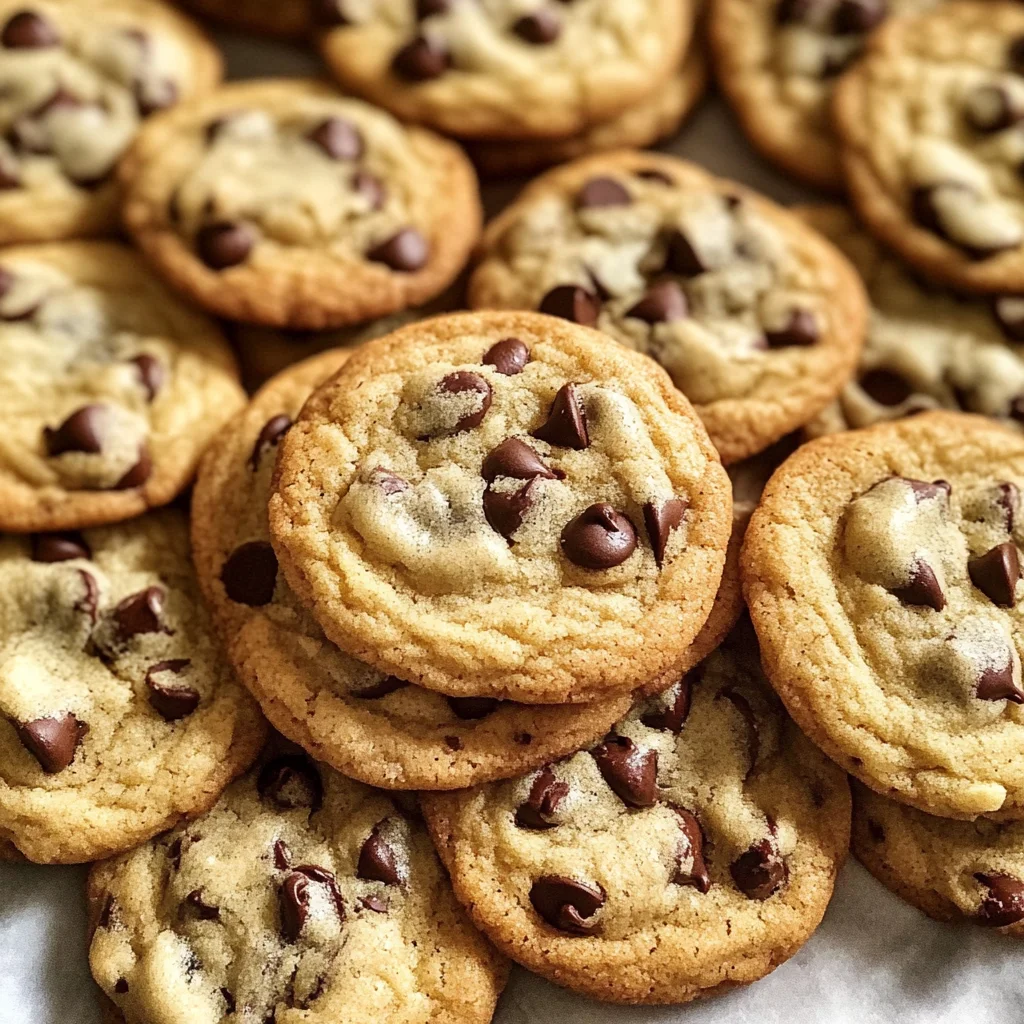
Everyday Chocolate Chip Cookies
If you’re looking for a cookie recipe that feels like a warm hug, you’ve come to the right place! These Everyday Chocolate Chip Cookies are my go-to treat, perfect for busy weeknights or family gatherings. The secret? Brown butter! It adds a rich, nutty flavor that elevates these cookies to a whole new level. Plus, they are super easy to whip up—no chilling required! Just mix, bake, and enjoy the delicious aroma wafting through your home.
Trust me, once you bake these cookies, they’ll quickly become a staple in your kitchen. Whether you’re treating yourself after a long day or sharing them with loved ones, these cookies will surely bring smiles all around.
Why You’ll Love This Recipe
- Easy to Make: With simple steps and no chilling time required, you can have fresh cookies ready in no time!
- Deliciously Chewy: The brown butter creates a soft and chewy texture that you’ll crave again and again.
- Perfect for Any Occasion: Whether it’s a cozy night in or a festive gathering, these cookies fit right in.
- Make-Ahead Convenience: You can freeze the cookie dough for up to two months—perfect for spontaneous cookie cravings!
- Family-Friendly: Everyone loves chocolate chip cookies! They’re sure to be a hit with kids and adults alike.
Ingredients You’ll Need
Let’s gather some simple, wholesome ingredients that make these cookies irresistible! You probably already have most of them in your pantry. Here’s what you’ll need:
For the Cookies
- 14 tablespoons (196g) salted butter
- 2 and 1/2 (300g) cups all-purpose flour
- 1 teaspoon baking soda
- 1/2 teaspoon flaky sea salt
- 1 cup + 2 Tablespoons (237g) dark brown sugar (packed)
- 1/2 cup (99g) granulated sugar
- 2 teaspoons vanilla
- 2 large eggs (room temperature)
- 1 cup milk chocolate chips
- 1 cup dark chocolate chips
- 1/2 cup bittersweet chocolate chips
Variations
This recipe is wonderfully flexible! Feel free to personalize it however you like. Here are some fun ideas:
- Add Nuts: Toss in some chopped walnuts or pecans for an extra crunch.
- Mix Up the Chips: Use white chocolate or butterscotch chips instead of traditional chocolate chips for a different flavor profile.
- Incorporate Oats: For added texture and fiber, mix in 1 cup of rolled oats.
- Make It Festive: Add seasonal spices like cinnamon or nutmeg for a cozy twist during the holidays.
How to Make Everyday Chocolate Chip Cookies
Step 1: Brown the Butter
Place the butter in a small saucepan over medium-high heat. Stir almost constantly for about 2 minutes until it melts and lightly browns. This step is crucial because browning the butter enhances its flavor significantly—it gives your cookies that rich, nutty taste we love!
Step 2: Cool the Butter
Once browned, transfer the butter into a heatproof bowl. Let it cool at room temperature until it’s back to room temperature; this usually takes about an hour. This cooling process helps create a perfect cookie texture.
Step 3: Preheat Your Oven
While waiting for the butter to cool, preheat your oven to 375 degrees Fahrenheit. Line two large baking sheets with parchment paper—this prevents sticking and makes cleanup easier!
Step 4: Combine Dry Ingredients
In a medium bowl, whisk together the flour, baking soda, and sea salt. This step ensures that your dry ingredients are evenly mixed and helps create those perfectly textured cookies.
Step 5: Cream Together Butter and Sugars
In your stand mixer with the paddle attachment, combine the chilled brown butter with both sugars. Beat on medium speed for about 2 minutes until light and fluffy. The fluffy mixture introduces air into the dough, making your cookies tender!
Step 6: Add Vanilla and Eggs
Next, add in the vanilla extract and beat smooth. Then incorporate each egg one at a time, ensuring each is fully mixed before adding another. This helps emulsify everything nicely for an even batter.
Step 7: Mix Dry Ingredients into Wet
Gently fold in the flour mixture using a wooden spoon—mix only until you see some flour disappearing. Be careful not to overmix; this keeps those cookies soft and chewy!
Step 8: Add Chocolate Chips
Now it’s time for the fun part—fold in all those delicious chocolate chips! You can use any combination of milk chocolate, dark chocolate, or bittersweet chips based on what you love most.
Step 9: Shape and Bake Cookies
Roll dough into big balls (about three tablespoons each) between your palms. Place them on prepared sheets with enough space between each cookie so they can spread while baking. Bake each sheet one at a time for about 11 minutes until golden at the edges but still soft inside.
Step 10: Cool Down Before Enjoying
Let those glorious cookies cool on the sheet for about 10 minutes before transferring them to wire racks to cool completely. This final step allows them to set up nicely while still being warm enough to enjoy right away!
And there you have it—your very own batch of Everyday Chocolate Chip Cookies! Perfect for sharing or savoring alone with a glass of milk (or coffee!). Happy baking!
Pro Tips for Making Everyday Chocolate Chip Cookies
Baking the perfect chocolate chip cookie is a delightful journey, and with these tips, you’ll be well on your way to cookie perfection!
-
Use room temperature ingredients: Starting with room temperature eggs and butter helps create a smooth batter, which results in lighter cookies that rise beautifully.
-
Don’t overmix the dough: Gently folding in the flour mixture ensures your cookies stay tender and chewy instead of dense and tough. Overmixing activates the gluten in the flour too much!
-
Experiment with chocolate chips: Feel free to mix and match your favorite types of chocolate chips! Using different varieties can add unique flavors and textures to each bite.
-
Keep an eye on baking time: Every oven is different, so check your cookies a minute or two before the suggested baking time. They should be golden at the edges but still soft in the center for that perfect chewiness.
-
Cool before serving: Allowing cookies to cool on the baking sheet for 10 minutes before transferring them to a wire rack helps them set up properly, ensuring they maintain their shape and texture.
How to Serve Everyday Chocolate Chip Cookies
These Everyday Chocolate Chip Cookies are not just delicious—they’re wonderfully versatile! Here are some ideas for presenting them that will surely impress family and friends.
Garnishes
- Sea salt flakes: Sprinkling a touch of flaky sea salt on top of warm cookies enhances their flavor profile and gives a sophisticated touch.
- Chocolate drizzle: A quick drizzle of melted chocolate over the cooled cookies adds an elegant finish and extra richness.
Side Dishes
- Milk: The classic pairing with chocolate chip cookies! A glass of cold milk perfectly complements the sweetness and richness of the cookies.
- Vanilla ice cream: Serve these warm cookies alongside a scoop of vanilla ice cream for an indulgent treat that combines hot and cold sensations.
- Coffee or tea: Enjoying these cookies with a warm beverage makes for a cozy experience, perfect for afternoons or casual gatherings.
- Fruit platter: A fresh fruit platter can balance out the sweetness of the cookies while adding color and vibrancy to your dessert table.
With these tips and serving suggestions, your Everyday Chocolate Chip Cookies will not only taste amazing but also look delightful on any occasion! Happy baking!
Make Ahead and Storage
This Everyday Chocolate Chip Cookies recipe is perfect for meal prep, allowing you to bake a delicious batch that can be enjoyed throughout the week or saved for special occasions. Here’s how to store them properly and keep their freshness.
Storing Leftovers
- Store cookies in an airtight container at room temperature.
- They will last for about 3-5 days without losing their deliciousness.
- For best results, place a slice of bread in the container; it helps keep cookies soft.
Freezing
- Allow cookies to cool completely before freezing.
- Place them in a single layer on a baking sheet and freeze until solid; this prevents them from sticking together.
- Transfer cookies to a freezer-safe bag or container, separating layers with parchment paper. They can be frozen for up to 2 months.
Reheating
- To enjoy warm cookies, preheat your oven to 350°F (175°C).
- Place cookies on a baking sheet and heat for about 5 minutes, or until warmed through.
- Alternatively, microwave each cookie for about 10-15 seconds if you prefer a quick reheat.
FAQs
Here are some common questions about making these Everyday Chocolate Chip Cookies!
Can I use different types of chocolate chips in Everyday Chocolate Chip Cookies?
Absolutely! You can customize your cookies by using your favorite types of chocolate chips like white chocolate or butterscotch. Mixing flavors adds a fun twist!
How do I ensure my Everyday Chocolate Chip Cookies turn out chewy?
To achieve that perfect chewy texture, avoid overmixing the dough after adding the flour and chocolate chips. Also, baking them just until the edges are golden while keeping the centers soft will help maintain that delightful chewiness.
Can I make these Everyday Chocolate Chip Cookies gluten-free?
Yes! You can substitute all-purpose flour with a gluten-free flour blend designed for baking. Just ensure that it includes xanthan gum or another binding agent to achieve the right consistency.
Final Thoughts
I truly hope you enjoy making these Everyday Chocolate Chip Cookies as much as I do! They’re not only easy to whip up but also create wonderful memories with friends and family. Whether you’re enjoying them fresh out of the oven or sharing them with loved ones, these cookies are bound to bring smiles all around. Happy baking!
Everyday Chocolate Chip Cookies

Bake your way to happiness with these Everyday Chocolate Chip Cookies! With the rich, nutty flavor of brown butter and a chewy texture, these cookies are a delightful treat for any occasion. Perfectly simple to prepare, there’s no chilling required—just mix, bake, and enjoy the heavenly aroma filling your kitchen. Whether you’re indulging after a long day or sharing with family and friends, these cookies will bring joy to everyone. Easy to customize with various chocolate types or add-ins like nuts or oats, this recipe is bound to become a favorite in your home. Get ready for smiles all around as you serve up these warm, delicious cookies!
- Prep Time: 20 minutes
- Cook Time: 11 minutes
- Total Time: 31 minutes
- Yield: Approximately 24 servings (cookies) 1x
- Category: Dessert
- Method: Baking
- Cuisine: American
Ingredients
- 14 tablespoons salted butter
- 2 and 1/2 cups all-purpose flour
- 1 teaspoon baking soda
- 1/2 teaspoon flaky sea salt
- 1 cup + 2 tablespoons dark brown sugar
- 1/2 cup granulated sugar
- 2 teaspoons vanilla extract
- 2 large eggs (room temperature)
- 1 cup milk chocolate chips
- 1 cup dark chocolate chips
- 1/2 cup bittersweet chocolate chips
Instructions
- Brown the butter in a saucepan over medium heat until lightly browned. Transfer to a bowl and let cool.
- Preheat the oven to 375°F (190°C) and line baking sheets with parchment paper.
- Whisk together flour, baking soda, and sea salt in a medium bowl.
- In a stand mixer, beat the cooled brown butter with both sugars until light and fluffy.
- Add vanilla extract and eggs one at a time; mix well.
- Gently fold in the dry ingredients until just combined; do not overmix.
- Fold in all chocolate chips.
- Roll dough into large balls (about three tablespoons each) and place on prepared sheets with space between them.
- Bake for about 11 minutes until edges are golden but centers are soft.
- Cool on the sheet for 10 minutes before transferring to wire racks.
Nutrition
- Serving Size: 1 serving
- Calories: 150
- Sugar: 10g
- Sodium: 90mg
- Fat: 8g
- Saturated Fat: 5g
- Unsaturated Fat: 3g
- Trans Fat: 0g
- Carbohydrates: 18g
- Fiber: 0g
- Protein: 2g
- Cholesterol: 25mg