Black Forest Cheesecake Bars
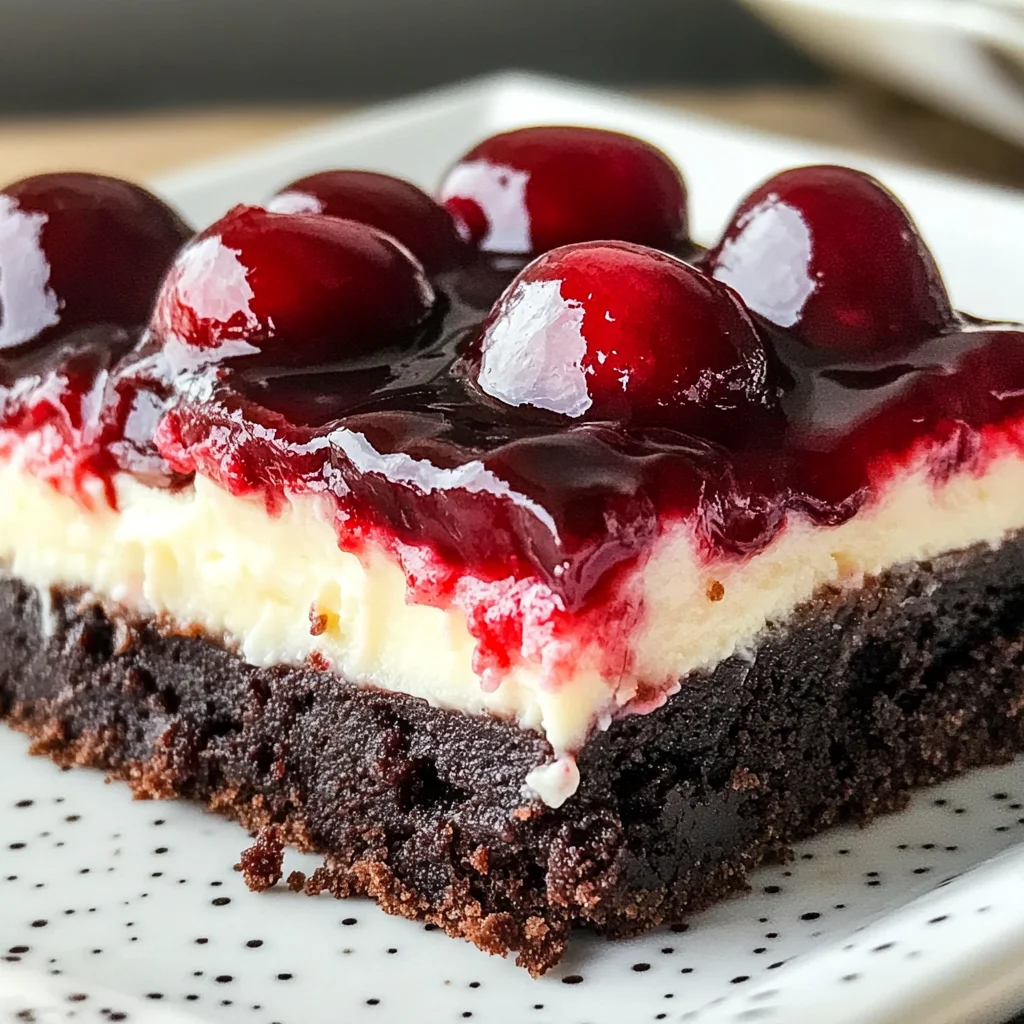
If you’re looking for a dessert that combines rich chocolate with the delightful sweetness of cherries, then these Black Forest Cheesecake Bars are just what you need! This recipe holds a special place in my heart because it perfectly captures the spirit of indulgence without being overly complicated. Whether you’re celebrating a special occasion or simply want to treat yourself on a busy weeknight, these bars bring joy and satisfaction with every bite.
The best part? They are easy to make and will surely impress your family and friends. With their fudgy chocolate crust, creamy cheesecake filling, and a luscious cherry topping, they are perfect for potlucks, holiday gatherings, or just as a sweet weekend indulgence.
Why You’ll Love This Recipe
- Simple to Prepare: With just a few easy steps, you can whip up these delicious bars in no time.
- Family-Friendly Appeal: Kids and adults alike will fall in love with the chocolate-cherry combination!
- Make-Ahead Convenience: These bars can be prepared in advance and stored for later enjoyment—perfect for busy days.
- Decadent Flavor: The rich flavors of chocolate and cherry create a heavenly taste experience that’s hard to resist.

Ingredients You’ll Need
Making Black Forest Cheesecake Bars is all about using simple, wholesome ingredients that come together beautifully. Here’s what you’ll need:
For the Crust
- 1 ½ cups chocolate cookie crumbs (such as Oreo, without filling)
- ¼ cup unsalted butter, melted
- 2 tbsp granulated sugar
For the Cheesecake Filling
- 16 oz cream cheese, softened
- ½ cup granulated sugar
- 2 large eggs
- 1 tsp vanilla extract
- ¼ cup sour cream (for a creamy texture)
- Pinch of salt
For the Topping
- 1 can (21 oz) cherry pie filling
- Optional: dark chocolate shavings or curls for garnish
- Optional: whipped cream for serving
Variations
This recipe is wonderfully flexible! Feel free to experiment with some fun variations:
- Add some spice: Mix in a pinch of cinnamon or nutmeg into the cheesecake filling for an extra layer of flavor.
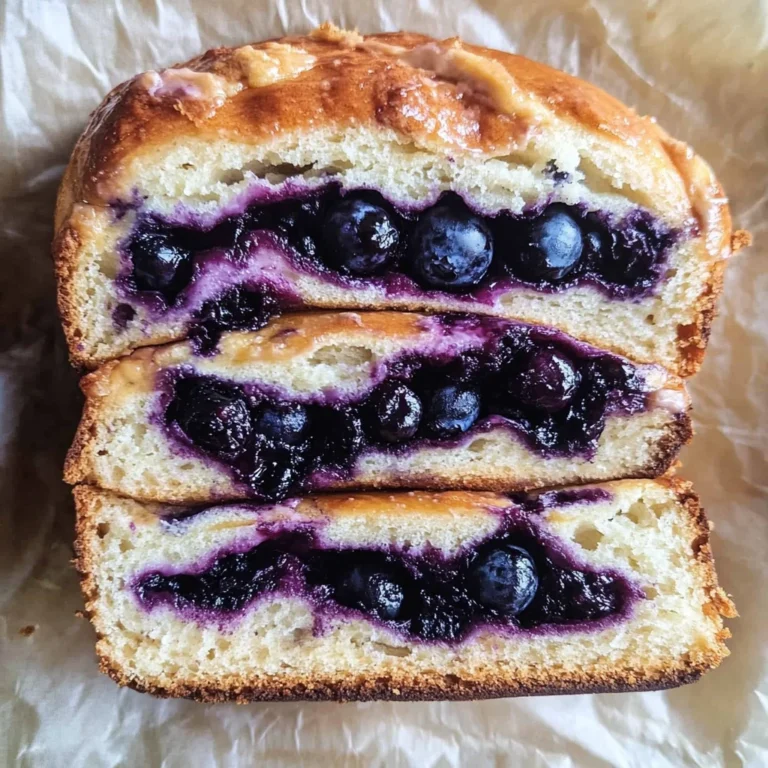
- Change up the fruit: Instead of cherry pie filling, try blueberry or raspberry for a different fruity twist!
- Make it chocolatey: Swirl some melted dark chocolate into the cheesecake batter before baking for an even richer flavor.
- Create individual servings: Bake the cheesecake mixture in muffin tins for cute dessert bites everyone can enjoy.
How to Make Black Forest Cheesecake Bars
Step 1: Preheat and Prepare Your Pan
Start by preheating your oven to 325°F (160°C). This ensures that your cheesecake bakes evenly and sets properly. While that’s warming up, line a square baking pan with parchment paper. The overhang will make it easy to lift out the bars once they’re done!
Step 2: Make the Crust
In a medium bowl, combine your chocolate cookie crumbs, melted butter, and granulated sugar. Mix until everything is well combined and resembles wet sand. Press this mixture firmly into the bottom of your prepared pan. This crust will provide that delicious base layer filled with rich chocolate flavor!
Step 3: Blend the Cheesecake Filling
In another bowl, beat together your softened cream cheese and granulated sugar until smooth. Add in the eggs one at a time, mixing well after each addition. Stir in the vanilla extract, sour cream, and pinch of salt until everything is creamy and well incorporated. This step is crucial because it creates that silky-smooth texture we love in cheesecakes.
Step 4: Assemble & Bake
Pour the cheesecake filling over your crust in the pan. Spread it evenly with a spatula so every bite has that luscious cheesecake goodness. Bake in your preheated oven for about 30-35 minutes or until set but still slightly jiggles in the center. Letting it cool completely allows those flavors to meld beautifully!
Step 5: Add the Cherry Topping
Once cooled, spread your cherry pie filling over the top of your cheesecake layer. If you want an extra touch of elegance, sprinkle dark chocolate shavings on top! Chill in the refrigerator before slicing into squares.
Enjoy sharing these delightful Black Forest Cheesecake Bars with friends and family—or keep them all to yourself; I won’t tell!
Pro Tips for Making Black Forest Cheesecake Bars
These cheesecake bars are sure to impress, and with a few helpful tips, you can make them even better!
- Use room temperature ingredients: Let your cream cheese and eggs sit out for about 30 minutes before mixing. This ensures a smooth, lump-free filling that bakes evenly.
- Don’t overmix the batter: Mix just until combined to maintain a light and airy texture in your cheesecake layer. Overmixing can introduce too much air, leading to cracks during baking.
- Cool gradually: After baking, allow the bars to cool in the oven with the door slightly ajar for about 30 minutes. This gradual cooling helps prevent cracks on the surface of your cheesecake.
- Chill before serving: Refrigerate the cheesecake bars for at least 4 hours (or overnight) to let them set properly. Chilling also enhances the flavors, making each bite even more delightful.
- Opt for quality chocolate crumbs: Using high-quality chocolate cookie crumbs will bring out richer flavors in your crust. Trust me, it makes a difference!
How to Serve Black Forest Cheesecake Bars
These decadent Black Forest Cheesecake Bars are not only delicious but also beautiful when presented right! Here are some ideas on how to serve them that will surely wow your guests.
Garnishes
- Dark chocolate shavings: Sprinkle these on top right before serving for an elegant touch that complements the rich chocolate flavor.
- Fresh cherries: Add a few fresh cherries on top or around the plate for a pop of color and freshness.
- Mint leaves: A sprig of mint adds a lovely contrast and refreshing flavor that balances the sweetness of the dessert.
Side Dishes
- Vanilla ice cream: The creamy vanilla ice cream contrasts beautifully with the rich cheesecake bars, creating a delightful combination of textures and flavors.
- Coffee or espresso: A warm cup of coffee or espresso pairs wonderfully with these rich bars, enhancing their chocolatey goodness.
- Fruit salad: A light fruit salad made with seasonal fruits provides a refreshing side that cuts through the richness of the cheesecake.
- Whipped topping: Serve with a dollop of whipped topping (non-dairy options available!) to add an extra layer of creaminess that perfectly complements each bite.
With these ideas in mind, your Black Forest Cheesecake Bars will not only taste fabulous but look stunning too! Enjoy every delicious moment!
Make Ahead and Storage
These Black Forest Cheesecake Bars are perfect for meal prep! You can easily make them ahead of time for gatherings, parties, or just to satisfy your sweet tooth throughout the week.
Storing Leftovers
- Store any leftover cheesecake bars in an airtight container in the refrigerator.
- They will stay fresh for up to 5 days.
- If cut into squares, use parchment paper between layers to prevent sticking.
Freezing
- To freeze, wrap the cheesecake bars tightly in plastic wrap and then in aluminum foil.
- They can be frozen for up to 3 months.
- Thaw overnight in the refrigerator before serving.
Reheating
- These bars are best served chilled, but if you prefer them warm, place them in a preheated oven at 300°F (150°C) for about 10 minutes.
- Allow them to cool slightly before serving.
FAQs
Here are some common questions about making Black Forest Cheesecake Bars!
Can I use a different type of cookie for the crust?
Absolutely! While chocolate cookie crumbs work wonderfully, you can experiment with other cookie types like graham crackers or even vanilla wafers for a unique twist.
How do I ensure my Black Forest Cheesecake Bars set properly?
Make sure your cream cheese is softened to room temperature before mixing. This helps create a smooth batter that sets well. Additionally, avoid overmixing once you’ve added the eggs to maintain a creamy texture.
Can I make these Black Forest Cheesecake Bars gluten-free?
Yes, simply use gluten-free chocolate cookies for the crust. The rest of the ingredients are naturally gluten-free!
Final Thoughts
I hope you find joy in making these delightful Black Forest Cheesecake Bars! Their rich flavors and beautiful presentation make them truly special. Whether it’s for a festive occasion or just because you deserve a sweet treat, these bars are sure to impress. Enjoy every bite and share your creations with friends and family – they’ll thank you for it!
Black Forest Cheesecake Bars
Indulge in a slice of heaven with these Black Forest Cheesecake Bars, where rich chocolate meets the delightful sweetness of cherries. This easy-to-make dessert features a fudgy chocolate crust paired with a creamy cheesecake filling and topped with luscious cherry pie filling. Perfect for any occasion—be it a holiday gathering, a potluck, or simply a weeknight treat—these bars are sure to impress your family and friends. With simple ingredients and straightforward preparation, you can whip up this decadent dessert that combines beautiful flavors and textures in every bite.
- Prep Time: 20 minutes
- Cook Time: 35 minutes
- Total Time: 55 minutes
- Yield: 8 servings 1x
- Category: Dessert
- Method: Baking
- Cuisine: American
Ingredients
- 1 ½ cups chocolate cookie crumbs
- ¼ cup unsalted butter, melted
- 16 oz cream cheese, softened
- ½ cup granulated sugar
- 2 large eggs
- 1 tsp vanilla extract
- ¼ cup sour cream
- 1 can (21 oz) cherry pie filling
Instructions
- Preheat your oven to 325°F (160°C) and line a square baking pan with parchment paper.
- In a bowl, mix chocolate cookie crumbs, melted butter, and sugar until combined. Press into the bottom of the prepared pan.
- In another bowl, beat cream cheese and sugar until smooth. Add eggs one at a time, mixing well after each addition. Stir in vanilla extract and sour cream until creamy.
- Pour the cheesecake mixture over the crust and spread evenly. Bake for 30-35 minutes until set but slightly jiggly in the center.
- Allow to cool completely before spreading cherry pie filling on top. Chill in the refrigerator before slicing.
Nutrition
- Serving Size: 1 bar (85g)
- Calories: 310
- Sugar: 24g
- Sodium: 180mg
- Fat: 20g
- Saturated Fat: 11g
- Unsaturated Fat: 9g
- Trans Fat: 0g
- Carbohydrates: 29g
- Fiber: 1g
- Protein: 4g
- Cholesterol: 60mg