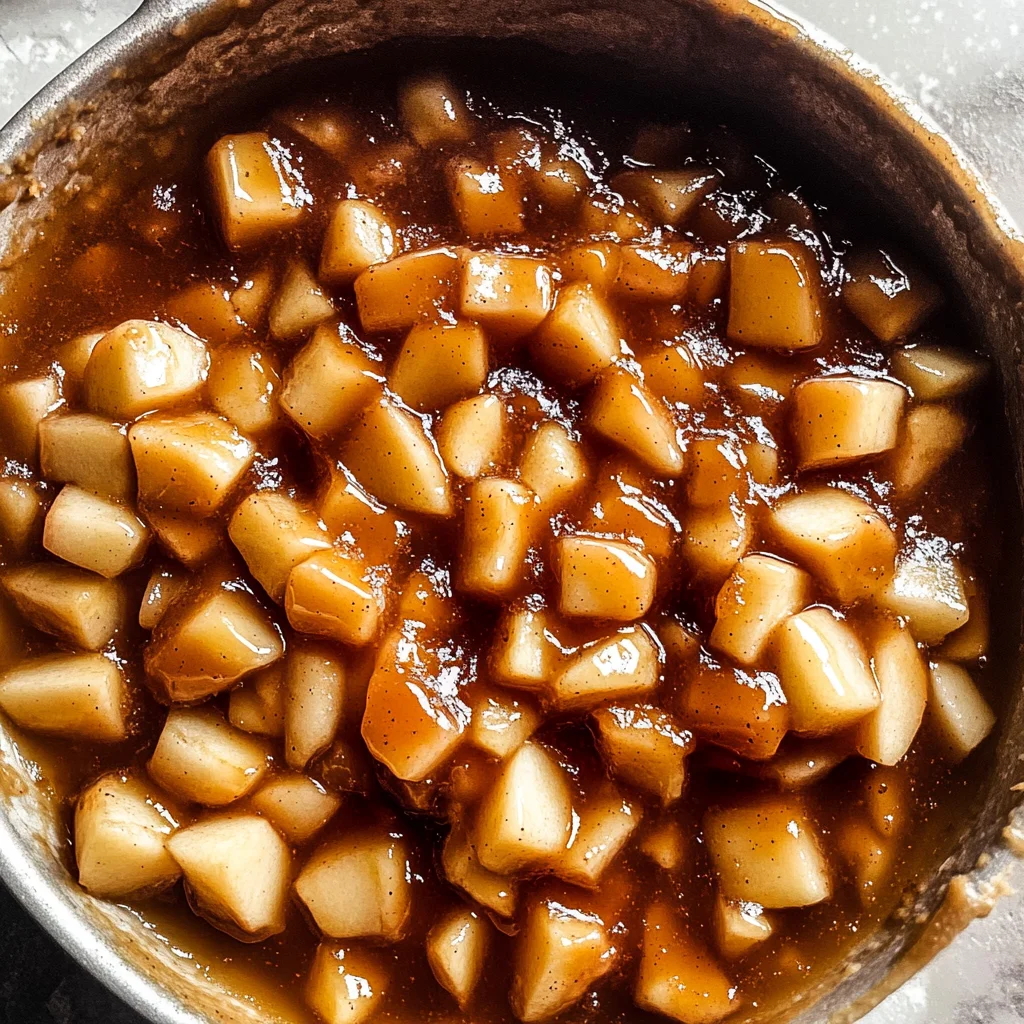
Homemade Apple Pie Filling
If you’re looking for the perfect way to elevate your desserts, then look no further! This Homemade Apple Pie Filling is a cherished recipe that has been passed down through generations. Whether it’s for a cozy family gathering or just a sweet treat on a busy weeknight, this filling will make your baked goods shine. The delightful combination of fresh apples with warm spices creates a comforting aroma that fills your kitchen and brings smiles all around.
What makes this recipe so special? It’s not just about the taste; it’s about the memories you create while making it. Imagine the laughter of friends and family as they indulge in warm apple pie topped with ice cream. This filling is versatile enough for pies, tarts, and even as a topping for pancakes or oatmeal. Let’s dive into why you’ll absolutely love making this Homemade Apple Pie Filling!
Why You’ll Love This Recipe
- Easy to Prepare: With simple steps and basic ingredients, you’ll have delicious filling ready in no time.
- Family-Friendly Appeal: Everyone loves apple pie! Your loved ones will ask for seconds (or thirds) without hesitation.
- Make-Ahead Convenience: Batch it up! You can prepare and freeze this filling ahead of time for quick desserts later.
- Delicious Flavor: The blend of spices and fresh apples creates a burst of flavor that’s hard to resist.
- Versatile Use: Perfect not only for pies but also as a topping on various treats like pancakes or yogurt!
Ingredients You’ll Need
To make this delicious Homemade Apple Pie Filling, you’ll only need a handful of simple, wholesome ingredients. Each one plays an important role in creating that classic flavor we all adore. Here’s what you’ll need:
For the Filling
- 9 cups fresh apples, peeled, cored and chopped into uniform sizes
- 2 tablespoons lemon juice
- 3 cups white sugar
- 2 tablespoons brown sugar
- 1/2 cup cornstarch
- 1 teaspoon ground cinnamon
- 1/2 teaspoon ground nutmeg
- 1/2 teaspoon coarse sea salt
Variations
This recipe is wonderfully flexible, allowing you to customize it to suit your tastes. Here are some fun variations to consider:
- Add Some Berries: Toss in some fresh blueberries or raspberries for a fruity twist!
- Spice It Up: Experiment with adding ginger or cloves for an extra layer of warmth.
- Sweeten It Naturally: Swap out some sugar with maple syrup or honey for a different sweetness profile.
- Try Different Apples: Mix various types of apples like Granny Smith and Honeycrisp for more depth in flavor!
How to Make Homemade Apple Pie Filling
Step 1: Prepare the Apples
Start by tossing your freshly peeled, cored, and chopped apples in lemon juice. This not only adds flavor but also prevents those lovely apples from turning brown. Set them aside while you work on the sauce.
Step 2: Make the Sauce
In a large Dutch oven or saucepan, stir together the white sugar, brown sugar, cornstarch, ground cinnamon, ground nutmeg, and coarse sea salt. Add 4 cups of water and bring everything to a low simmer. This step is crucial because it helps create that thick sauce that will coat your apples beautifully.
Step 3: Cook the Apples
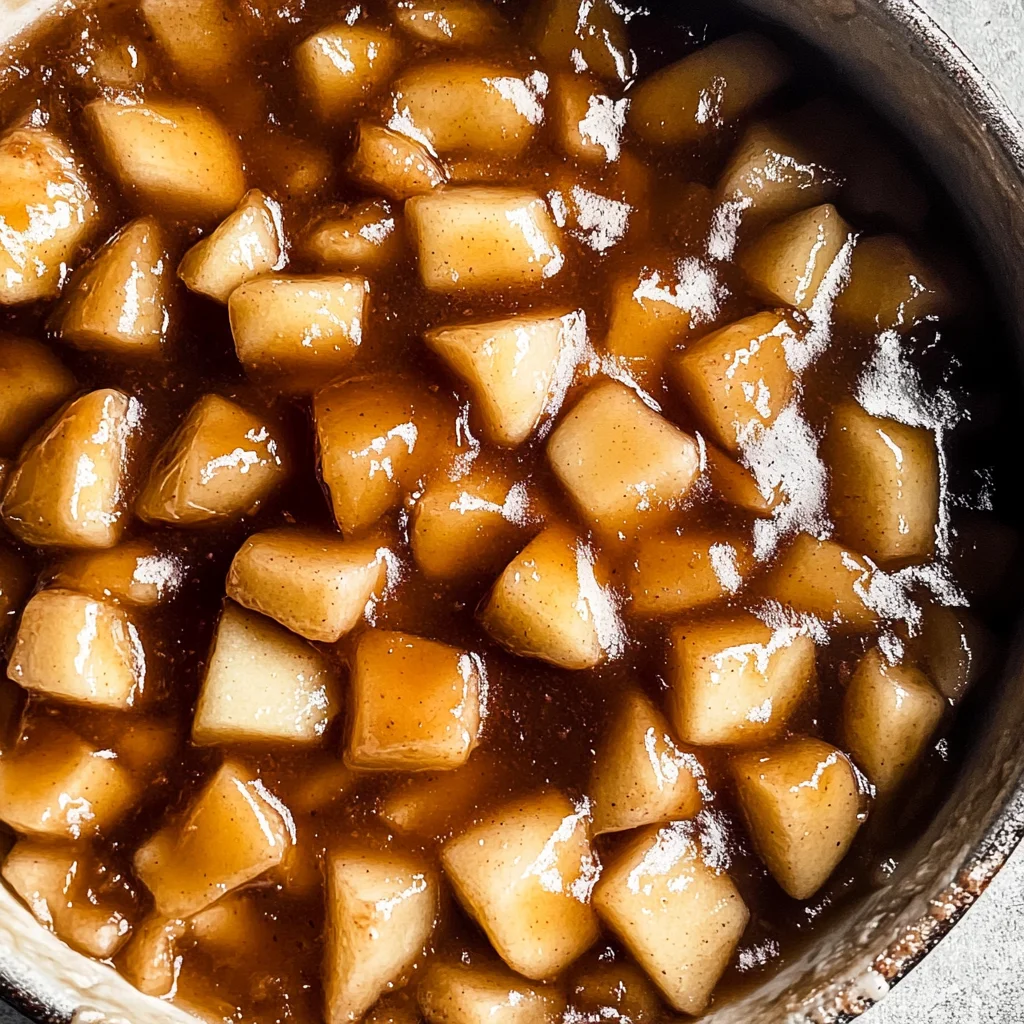
Once your sauce is simmering gently, stir in those prepared apples. Cover the pot and let them cook for 6-10 minutes depending on how big you cut your apple pieces. You want them fork-tender but not mushy! This is where all those flavors meld together.
Step 4: Cool Down
Once cooked, remove from heat and let it cool completely. This step is important if you’re planning to use it later—whether canning or freezing—so be patient!
Step 5: Enjoy!
Now that you’ve made your Homemade Apple Pie Filling, it’s time to use it however you’d like! Pour it into pies, store it in jars, or freeze it for future baking adventures. And don’t forget to come back and tell us how yours turned out in the comments!
Pro Tips for Making Homemade Apple Pie Filling
Making apple pie filling is a delightful experience, and with a few tips, you can ensure your filling is nothing short of perfection!
- Choose the right apples: Different apple varieties offer unique flavors and textures. Opt for a mix of sweet and tart apples like Granny Smith and Honeycrisp for a well-balanced filling.
- Uniform chopping: Ensuring your apple pieces are cut into uniform sizes helps them cook evenly. This way, every bite will have that perfect tenderness without any mushy bits!
- Don’t skip the lemon juice: The lemon juice not only prevents browning but also enhances the apples’ natural sweetness. It adds a zesty kick that elevates the overall flavor of your filling.
- Adjust sweetness to taste: Everyone’s palate is different! Feel free to adjust the amounts of sugar based on your preference or the sweetness of your apples. Taste as you go for the best results.
- Cool before using or storing: Allowing your apple pie filling to cool completely helps it thicken and makes it easier to work with when you’re ready to use it in your baking.
How to Serve Homemade Apple Pie Filling
Now that you’ve made this delicious homemade apple pie filling, let’s explore some wonderful ways to present and enjoy it!
Garnishes
- Whipped coconut cream: A dollop of whipped coconut cream adds a rich, creamy texture that complements the spiced apple filling beautifully.
- Cinnamon sprinkle: A light dusting of ground cinnamon over the top enhances both appearance and flavor, giving it an extra cozy touch.
- Chopped nuts: Sprinkle some chopped pecans or walnuts for a delightful crunch that contrasts nicely with the soft apples.
Side Dishes
- Vanilla ice cream: A scoop of creamy vanilla ice cream serves as a classic pairing, melting slightly over warm apple pie filling for an indulgent dessert experience.
- Oatmeal: Serve warm apple pie filling over oatmeal for a comforting breakfast twist. The sweetness from the apples pairs perfectly with hearty oats.
- Pancakes: Incorporate the apple pie filling into pancakes for a delightful brunch option. Top with syrup or whipped topping for added deliciousness.
- Yogurt parfaits: Layer the apple pie filling with yogurt and granola for a wholesome snack or breakfast treat that packs flavor and texture in every bite.
With these serving tips and garnishes, your homemade apple pie filling will not only taste amazing but also look stunning on any table! Enjoy every bite!
Make Ahead and Storage
This Homemade Apple Pie Filling is perfect for meal prep! You can easily make a batch ahead of time and have it ready to use whenever you’re craving a delicious dessert.
Storing Leftovers
- Store any leftover apple pie filling in an airtight container.
- Keep it in the refrigerator for up to one week.
- Before using, give it a good stir as it may thicken when chilled.
Freezing
- Allow the filling to cool completely before freezing.
- Transfer the filling to freezer-safe bags or containers, removing as much air as possible.
- Label with a date and freeze for up to six months.
Reheating
- Thaw overnight in the refrigerator when ready to use.
- Reheat on the stove over low heat, stirring occasionally until warmed through.
- You can also microwave it in short intervals, stirring frequently to prevent hot spots.
FAQs
Here are some common questions about making Homemade Apple Pie Filling:
Can I use other fruits in this filling?
Absolutely! While this recipe focuses on apples, you can experiment with other fruits like pears or peaches for a delightful twist.
How long does Homemade Apple Pie Filling last?
When stored properly in the fridge, your Homemade Apple Pie Filling will last up to a week. If frozen, enjoy it within six months!
What’s the best way to use Homemade Apple Pie Filling?
There are countless ways! Use it in pies, tarts, or even as a topping for pancakes and waffles. The possibilities are endless!
Can I adjust the sweetness of my apple pie filling?
Yes! Feel free to reduce the amount of sugar if you prefer a less sweet filling. Taste and adjust according to your preference.
Final Thoughts
Making your own Homemade Apple Pie Filling is not only rewarding but also brings back those nostalgic flavors that warm your heart. I hope you enjoy every step of creating this delicious filling and find joy in using it in various recipes. Don’t hesitate to share your experience in the comments below—happy baking!
Homemade Apple Pie Filling
Elevate your dessert game with this Homemade Apple Pie Filling! This cherished recipe is perfect for family gatherings or a cozy weeknight treat. The delightful blend of fresh apples and warm spices creates an irresistible aroma that fills your kitchen, evoking sweet memories and smiles all around. Whether you’re using it for traditional pies, tarts, or as a delicious topping for pancakes and oatmeal, this apple pie filling is sure to delight everyone.
- Prep Time: 15 minutes
- Cook Time: 10 minutes
- Total Time: 25 minutes
- Yield: About 8 servings 1x
- Category: Dessert
- Method: Baking
- Cuisine: American
Ingredients
- 9 cups fresh apples, peeled, cored, and chopped
- 2 tablespoons lemon juice
- 3 cups white sugar
- 2 tablespoons brown sugar
- 1/2 cup cornstarch
- 1 teaspoon ground cinnamon
- 1/2 teaspoon ground nutmeg
- 1/2 teaspoon coarse sea salt
Instructions
- Prepare the Apples: Toss chopped apples in lemon juice to prevent browning.
- Make the Sauce: In a large saucepan, mix white sugar, brown sugar, cornstarch, cinnamon, nutmeg, and salt. Add 4 cups of water and bring to a low simmer.
- Cook the Apples: Stir in prepared apples and cook covered for 6-10 minutes until fork-tender.
- Cool Down: Remove from heat and let cool completely before using or storing.
Nutrition
- Serving Size: 120g
- Calories: 190
- Sugar: 34g
- Sodium: 5mg
- Fat: 0g
- Saturated Fat: 0g
- Unsaturated Fat: 0g
- Trans Fat: 0g
- Carbohydrates: 50g
- Fiber: 3g
- Protein: <1g
- Cholesterol: 0mg